Before we start
The first thing you need to do is to get the extended test case migrator tool running. Please refer to my previous postsTool for import word test case documents to Microsoft Test Manager and http://mskold.blogspot.com/2010/06/updates-to-my-extensions-of-testcase.html. You can download either the compiled exe or the complete soure code and compile it yourself.
Getting started
The first you need to do is verify that your test case documents can be parsed by the extended test case migrator (TCM). The extension I made for TCM is intended to import test cases written for humans. It relies on that your document is formatted using font styles or colors. The simplest way to verify if your document can be parsed is simply to try to parse it using the tool.
#1 Select your source
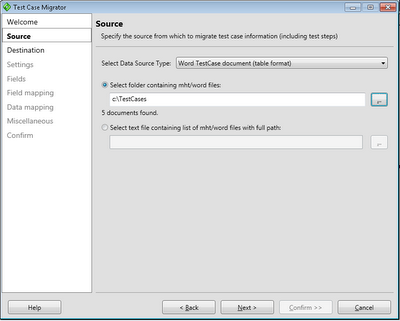
After starting and clicking Next in the welcome screen the first real step is to select your data source. In order to import word test cases select the Word TestCase document (table format) and enter or select the path to a folder containing your word test cases.
#2 Select your target team project
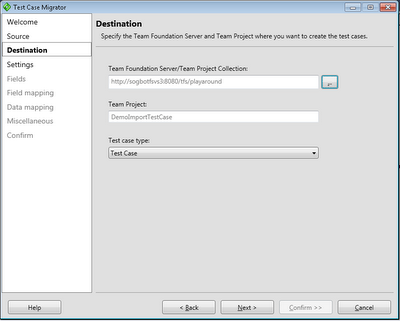
The next step is to select your target team project. You also need to select the Work Item Type representing a Test Case.
#3 Create a new settings file
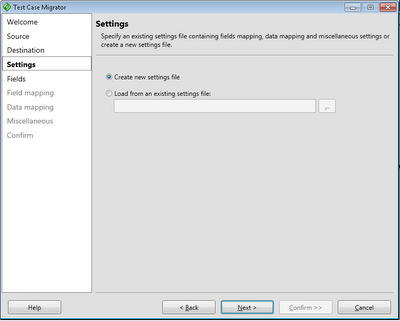
The third step is to simply create a new settings file. You can also load a previous saved settings file.
#4 Fields listing
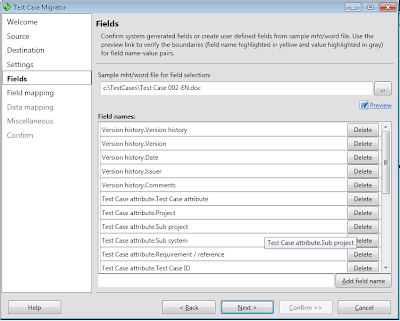
The next step is to modify the list of detected fields. The tools scans a document for labels and captions and presents a list of them. If you miss any field you can add and you can them and the tool will check if it can find it. If your list is empty or doesnt contain any of the fields you expected your document layout can't be processed by the current version of the tool.
You can also delete unwanted fields from the list to make it simpler to handle in the coming steps. When you click next all documents are scanned to verify that the fields can be found in every document. This can take a while if you have many documents, for example 100 documents takes 10-20 minutes (or more) to scan depending on your computer.
#5 Map your fields against TFS fields
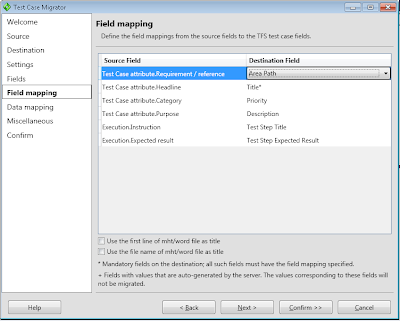
Now it's time to map your "word" fields against the fields in the tfs test case work item. The Test Step Title and Test Step Expected Result is treated special and the tool will iterate through all values and create test steps.
#6 Map values against TFS
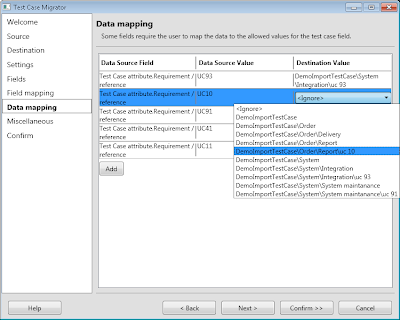 values
 For fields who has defined value lists in TFS you will be prompted to map your word value against the valid TFS values. In this example I mapped the TFS Area fields against the RequirementReference word field in the previous step. This will allows me to map the text values in word to an Area path in TFS.
#7 Save settings
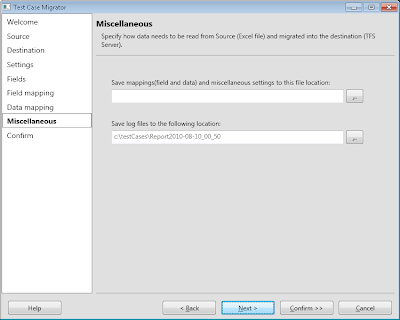
Before you start importing you can save your settings to a file and change the default location of the log file.
#8 Confirm

Simply click Save and Migrate to start the import. As most of the work is done in earlier steps the import process is rather quick.
#9 Verify outcome
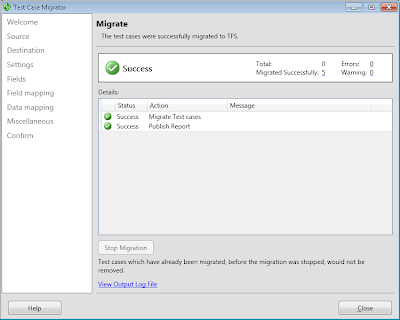
After the import is completed you will hopefully se a screen similar to this. You may also receive warnings and errors for part of the import. If you do, click the View output log file link and try to figure out what documents has problems and what to do to it.


